
How to Use Project Sources, Statuses, and Tags in Dubsado
By Ema Katiraee, Certified Dubsado Specialist
TL;DR: Project sources, statuses, and tags are three of the most useful organizational tools in Dubsado. Sources track where leads come from, statuses show where clients are in your process, and tags give you a flexible way to group projects. Here's how to set up and use each one.
Before you dive into building templates and workflows in Dubsado, it helps to get these three organizational features set up first. They'll make your projects easier to manage and your pipeline easier to track from day one.
What Are Project Sources in Dubsado?
Project sources show you where your leads are coming from. This helps you track which platforms or strategies are working best for your business.
You can create project sources in two ways:
Option 1: Inside a Lead Capture Form
Add a Project Tracking element to your lead capture form.
Select from the available options in the dropdown menu, or click New project source.
Add a source name and choose a color to make it easy to recognize.
Option 2: Through Project Reports
Go to Home → scroll down and click to open Project Reports
Click + New Source
Enter a source name and select a color.
Examples of project sources you might set up include:
Instagram
Facebook
LinkedIn
Referrals
When someone fills out your lead capture form, they can choose from the list you created. You do not have to display every source, just the ones that are most relevant. Over time, this data will show up in your reporting so you can see how people are finding you.
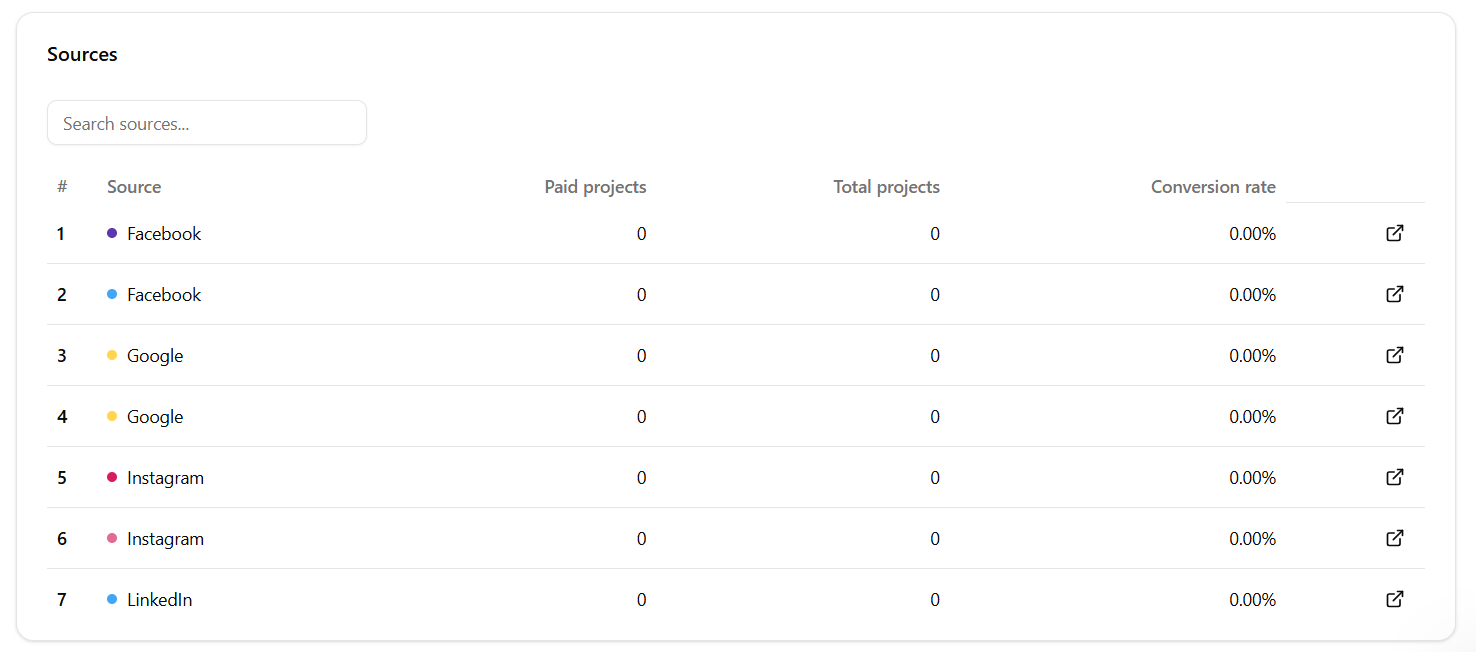
Project Sources in Dubsado
How to Use Project Statuses
Project statuses help you track where a client is in your process. Think of them as the stages of your client
Leads are potential clients. Example statuses:
Discovery call booked
Proposal sent
Awaiting payment
Not a good fit
Jobs are clients who have already booked. Example statuses:
Booked
Pre-Wedding
Post-Wedding
Complete
You can fully customize these inside your settings. When you click ‘Customize’ to add new statuses, you can also choose which status should display as your default view by placing a checkmark on it. This can be a specific lead status, a specific jobs status, or you can choose to display all leads or all jobs by default. For example, if onboarding is the stage you monitor most closely, you can set that as your default.
💡 Tip: Add Emojis
Many Dubsado users like to add emojis to their statuses. If you are a visual person, this can make it easier to scan your projects at a glance. For example:
📞 Consultation Booked
📑 Proposal Sent
💳 Awaiting Payment
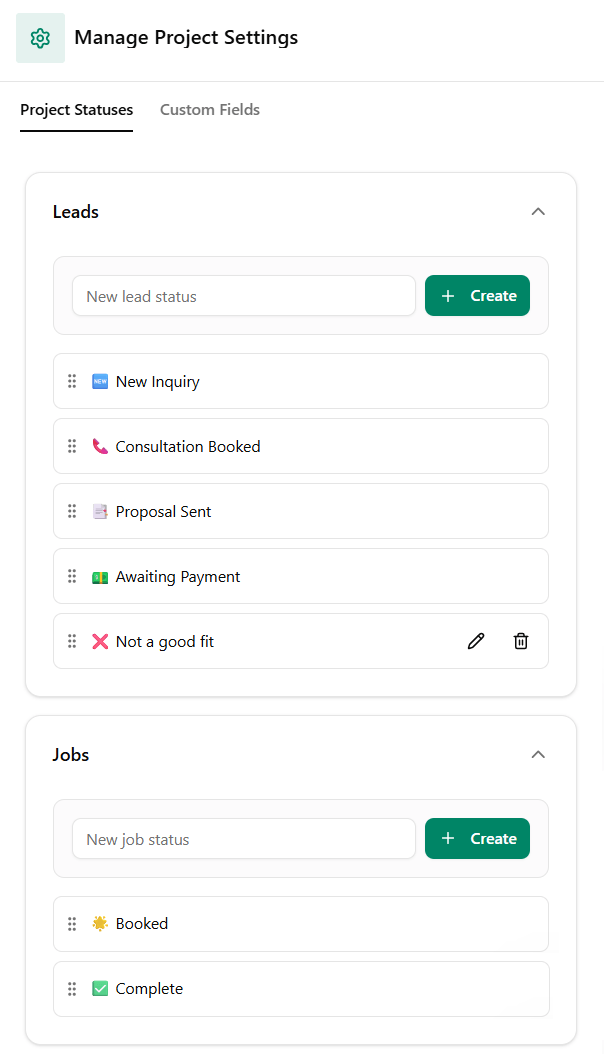
Project Statuses in Dubsado
How Project Tags Work
Tags are another way to organize your projects. While statuses track stages, tags give you flexibility to group clients by other details.
For example, you might create tags such as:
Full Service
Partial Planning
Recurring client
Tags show up as small dots in your project list, and you can filter projects by tags at any time. This is especially useful if you want to quickly find a certain type of client or service.
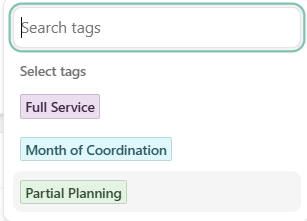
Project Tags in Dubsado
Sorting and Custom Views
Inside your Projects area, you can switch between Table view and Board view, then customize what you see and how it's organized to fit the way you work.
You can group your projects by:
Status
Client
Project Source
Assigned to
Tags
No grouping - if you'd rather see one long list
For columns, click into your display settings to choose which fields show up, including:
Project (title)
Contact
Status
Contract
Workflow
Amount Paid
Project Date
Assigned to
Tags
Project Source
Created
Any custom client or project fields you've created. This needs to be toggled on first. Click the gear icon to Manage Project Settings → click Custom Fields and toggle on the ones you want to display
You can drag and drop fields to reorder them inside of the Display settings, so the info that matters most to you shows up first.
For sorting, click the Sorting button to arrange your projects in ascending or descending order by:
Project name
Client
Project Date
Created Date
If you choose a date option, you can sort by oldest to newest or newest to oldest.
For example, if you want to see which clients are starting soon, sort by project date. If you want a quick alphabetical list, sort by project name instead.
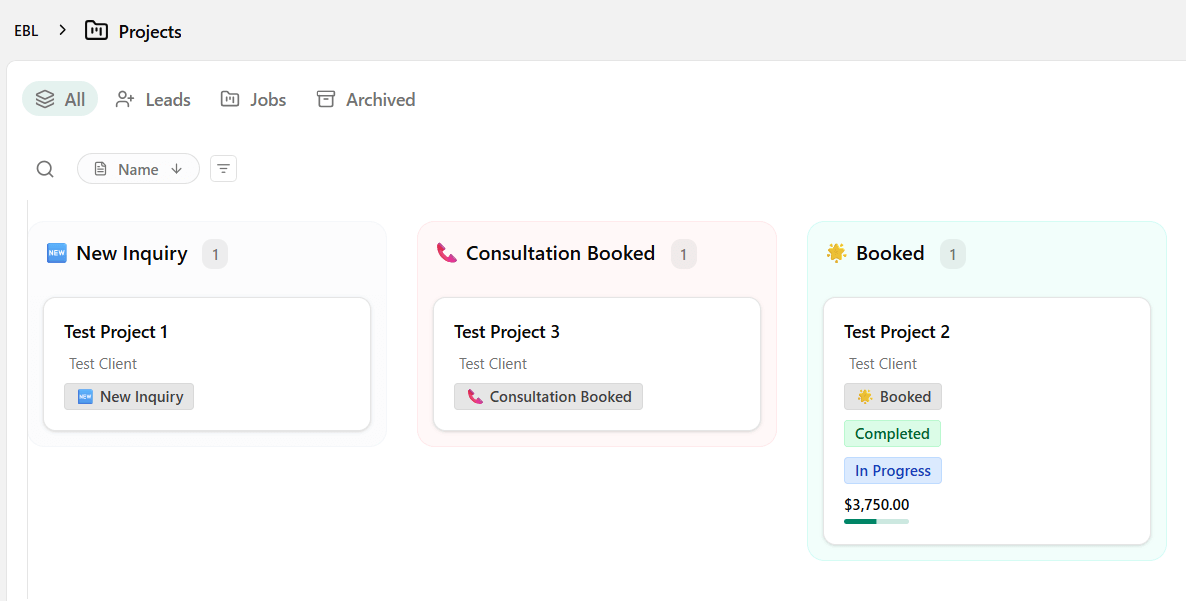
How to customize your project views in Dubsado
Tutorial: How to Create Project Sources, Statuses and Tags in Dubsado
Prefer to see this in action? Watch the full video walkthrough here:
Want Your Dubsado Account Set Up Properly?
If setting up your Dubsado account properly feels like one more thing on a very long list, I can take it off your plate. Book a discovery call and let's talk about building a system that's actually organized from the start.