How to Deliver an Email Sequence using Kit (formerly ConvertKit)
TL;DR: To deliver an email sequence in Kit, you'll build a branded email template, write your sequence emails, and connect everything with a visual automation that triggers when someone signs up. It sounds like a lot, but once you've done it once it becomes second nature. The step-by-step breakdown is below.
If you want to build a real relationship with your audience - the kind where people actually look forward to hearing from you - email sequences are one of the most effective ways to do it.
A good sequence lets you show up consistently without having to think about it every single time. You write the emails once, set up the automation, and Kit handles the rest. New subscribers get a warm, intentional welcome. You get to stay focused on your actual work.
Whether you're setting up a welcome sequence, a nurture sequence, or a series that leads into a specific offer, this post walks you through the whole process in Kit: creating a branded email template, writing your sequence, and building the automation that delivers it.
Disclosure: This post contains affiliate links, which means I may earn a commission if you click through and make a purchase. This comes at no additional cost to you. I only recommend tools I genuinely believe in.
Watch the Tutorial
Prefer to watch instead of read? I put together a full video tutorial walking you through every step. Go ahead and watch it first, then use the written steps below as a reference if you need to pause and double-check anything.
Why Kit?
Kit (formerly ConvertKit) is built for creators and service-based business owners who want a powerful email platform without the overwhelm. The interface is clean, the visual automation builder is genuinely intuitive, and the tagging and segmentation system makes it easy to send the right emails to the right people.
Here's what you can do with Kit that makes it especially useful for email sequences: drag-and-drop email templates, visual automations, subscriber tagging and segmentation, personalization using custom fields, and open and click rate tracking. It's a solid platform whether you're just getting started or switching from something more complicated..
Step 1: Create a Branded Email Template
Before you build your sequence, set up a template. This keeps all your emails looking consistent and on-brand without having to redesign from scratch every time.
Select a Template
In your Kit account, go to Send then Email Templates. You can choose an existing template to customize, or click New Email Template to start fresh.

Click New Email Template to create a branded template for your sequence
Customize the Template
Use the right-hand menu to style the template to match your brand. You can edit the background color, button color and text, font type and size, spacing, borders, and margins. You can also toggle off the "Built with Kit" badge here if you'd like.
While you're in there, make sure your template includes these required placeholders:
{{ address }} - pulls in your mailing address from your account settings (required by anti-spam laws)
{{ unsubscribe_url }} - adds an unsubscribe link (also required)
And this one is optional but worth including:
{{ subscriber_preferences_url }} - lets subscribers update their name or email address
Save the template when you're done. You'll select it when building your sequence next.
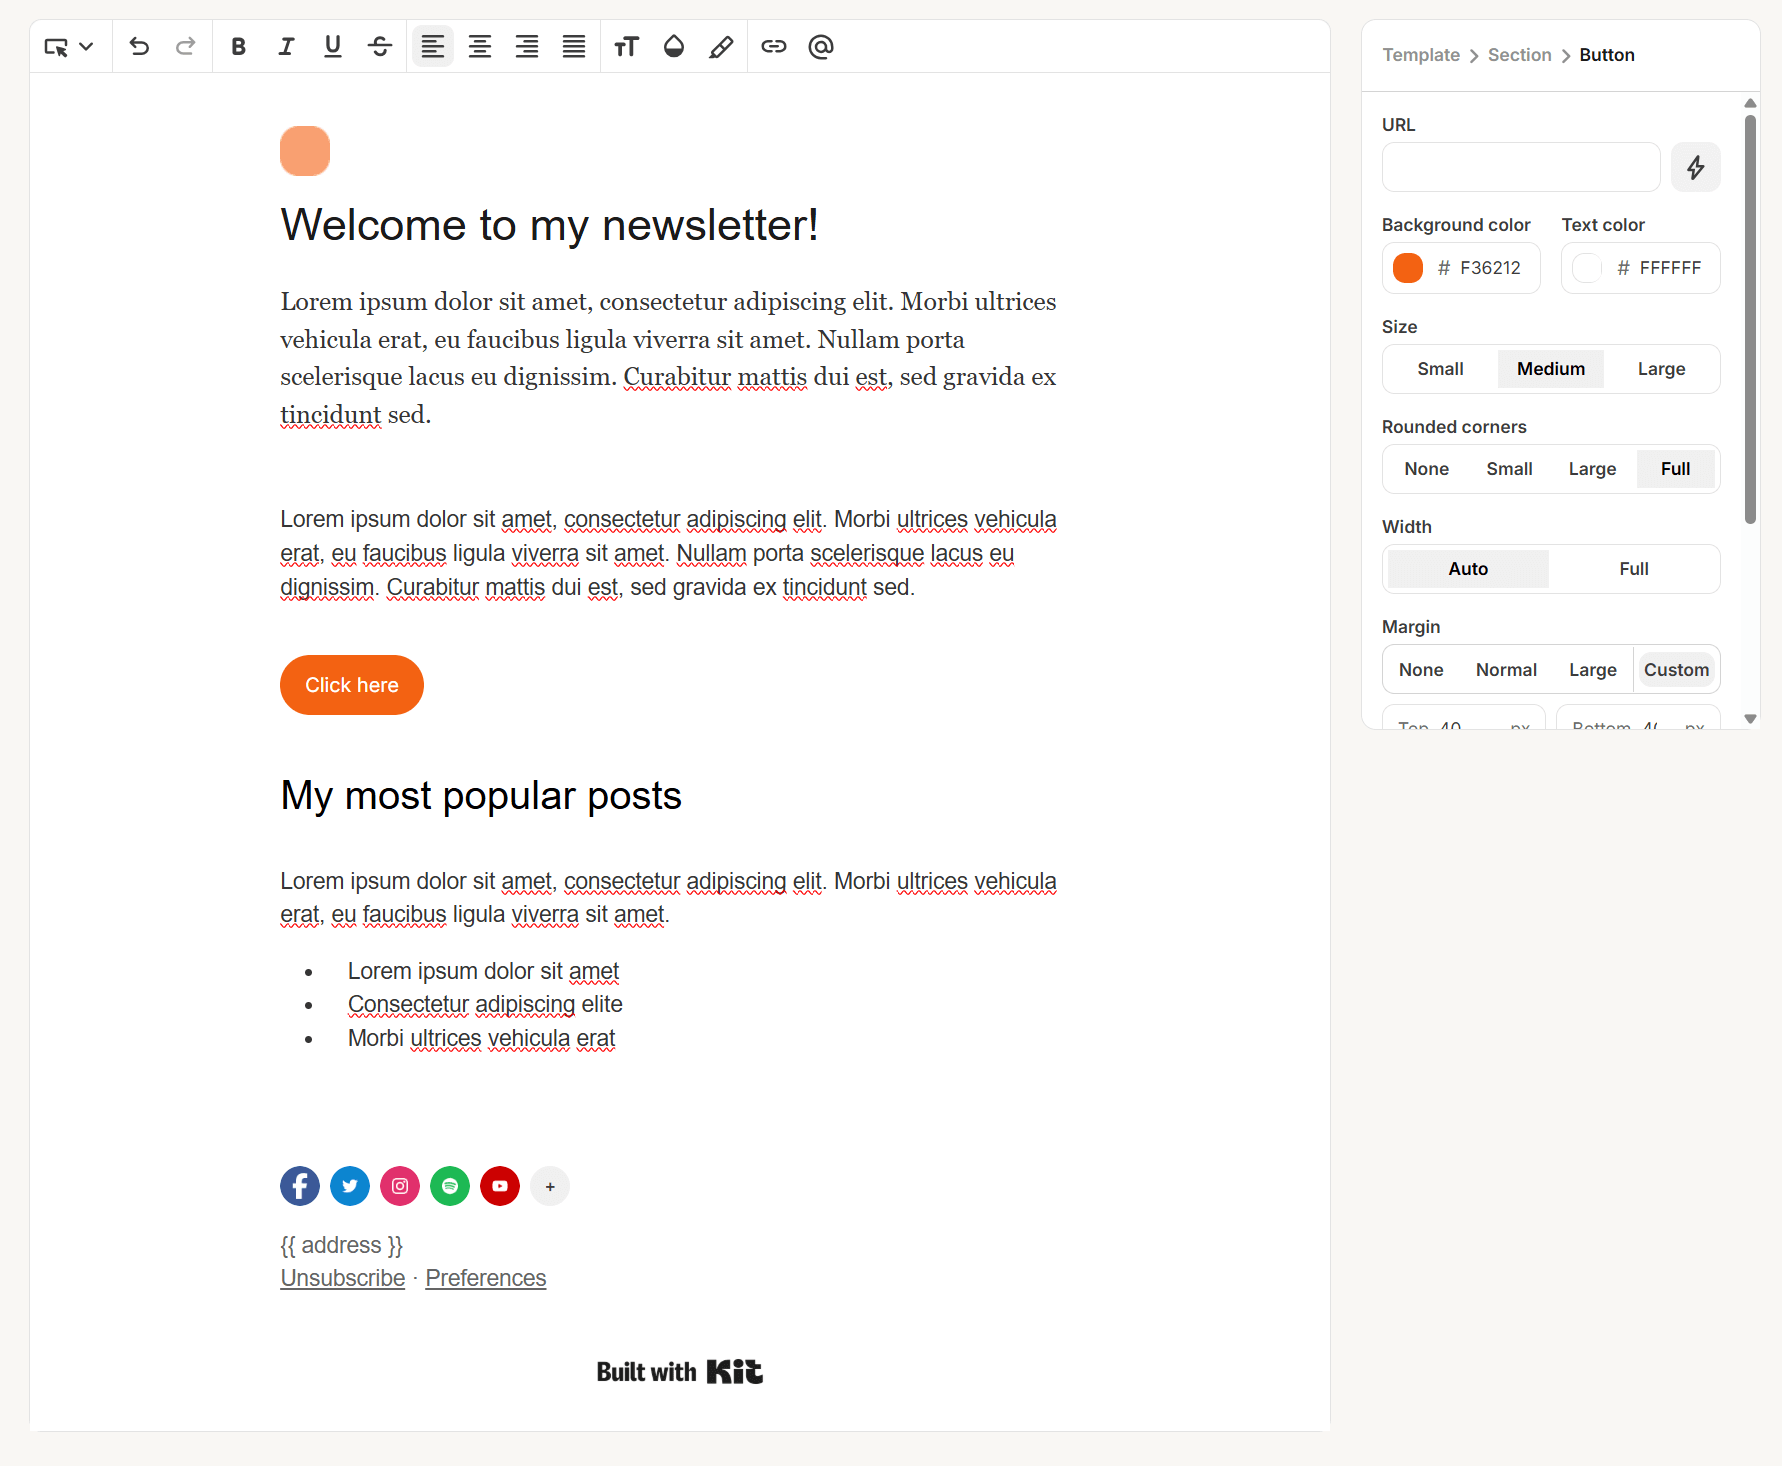
Use the right-hand menu to update colors, fonts, and spacing to match your brand
Step 2: Write Your Email Sequence
Create a New Sequence
Go to Send then Sequences and click New Sequence. Select the template you just created.
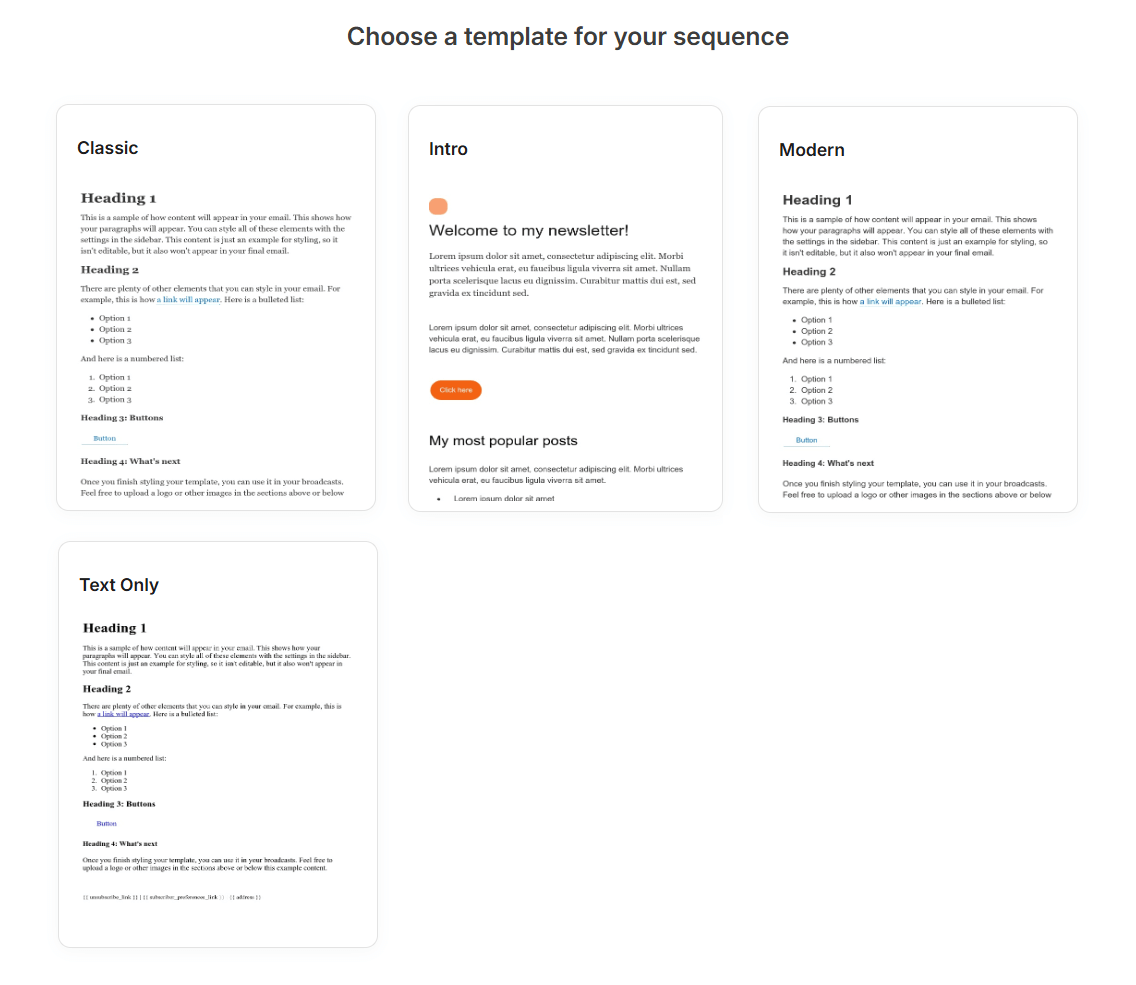
Choose your branded template when creating a new sequence in Kit
Write Each Email
For each email in the sequence, fill in:
Subject line - what subscribers see in their inbox
Preview text - optional, but worth adding; it shows up as the snippet under the subject line
Send this email - set how many days (or hours) after the previous email this one should go out
A quick tip: use {{ subscriber.first_name }} in the subject line or body to personalize emails with the subscriber's name. It's a small thing that makes a noticeable difference.
Once an email is ready, click Publish. If you edit it later, you'll need to click Publish Changes again for the updates to take effect.
Use the Preview button to check how each email looks, and send yourself a test version before going live. It's the fastest way to catch broken links or formatting issues before your subscribers do.
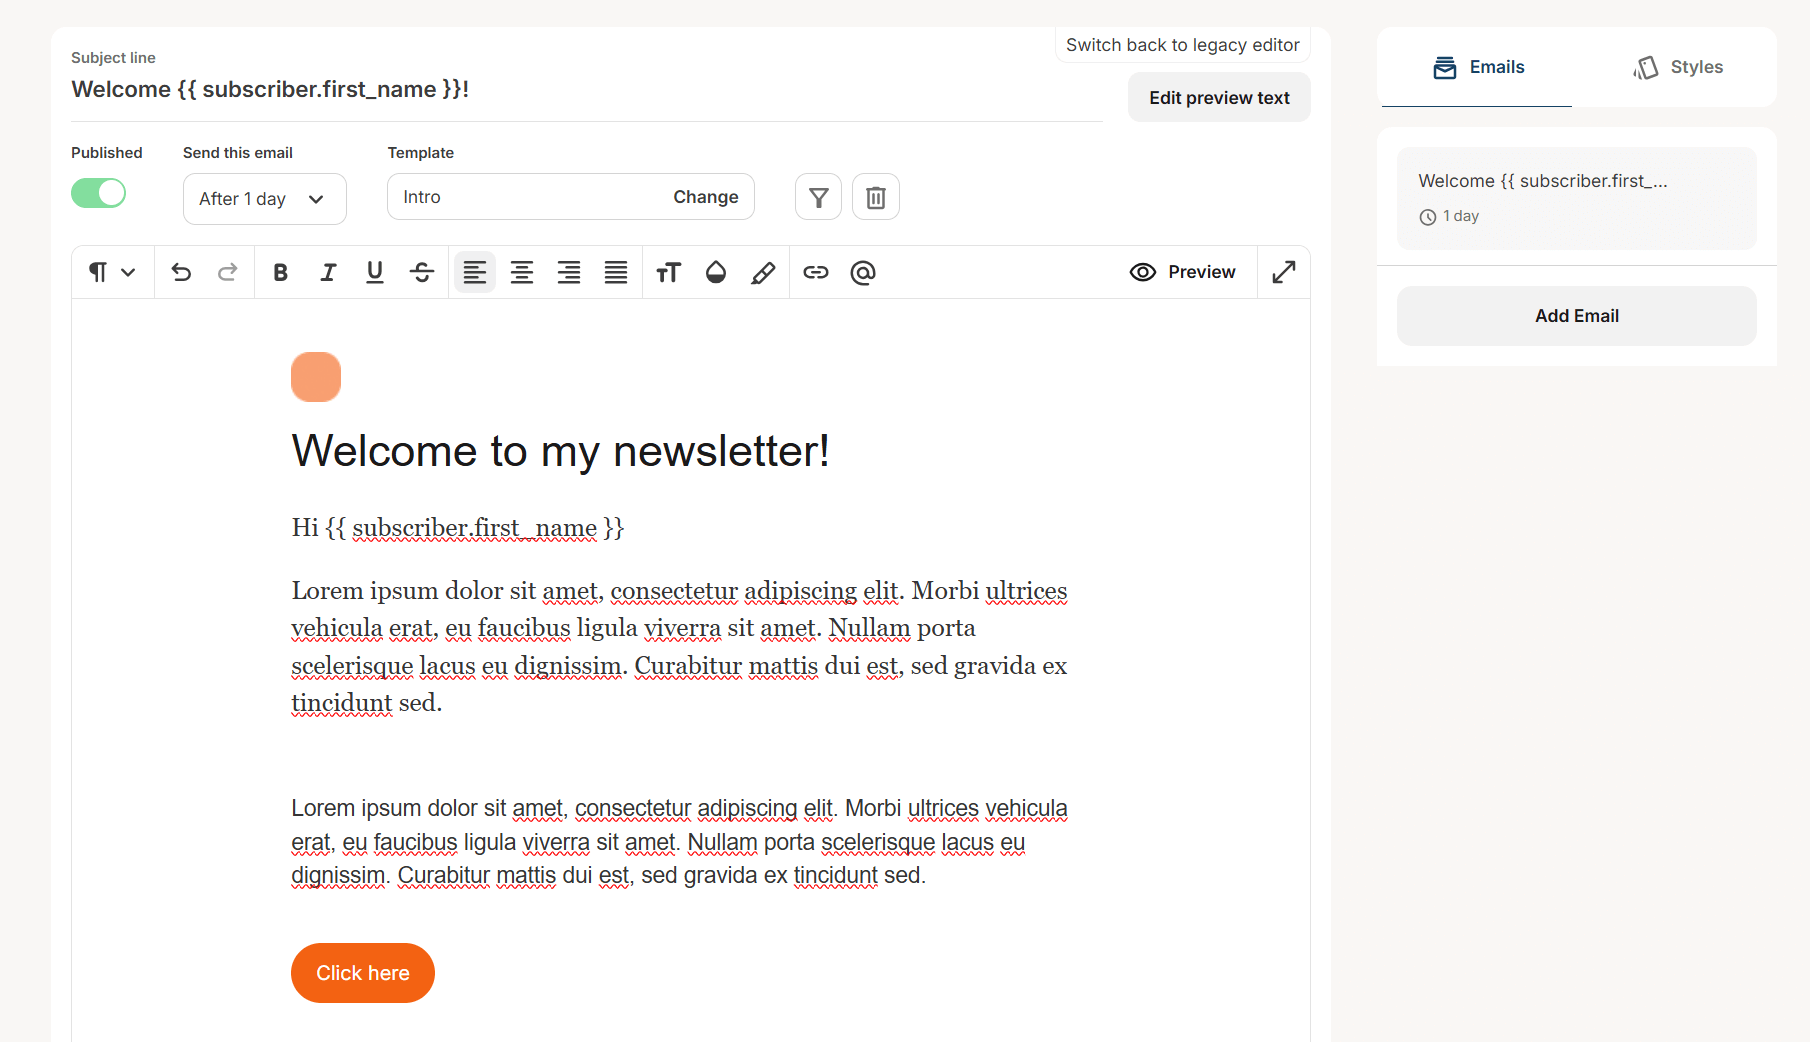
Fill in the subject line, preview text, and send timing for each email in your sequence
Step 3: Build an Automation to Deliver the Sequence
Your sequence is written, now you need an automation that actually sends it. This is what connects a subscriber action (like filling out a form) to the sequence you just built.
Create a New Visual Automation
Go to Automate then Visual Automations and click + New Automation. You can start from scratch or choose from Kit's pre-built templates like a newsletter welcome or waitlist flow. For this walkthrough, we'll build from scratch.
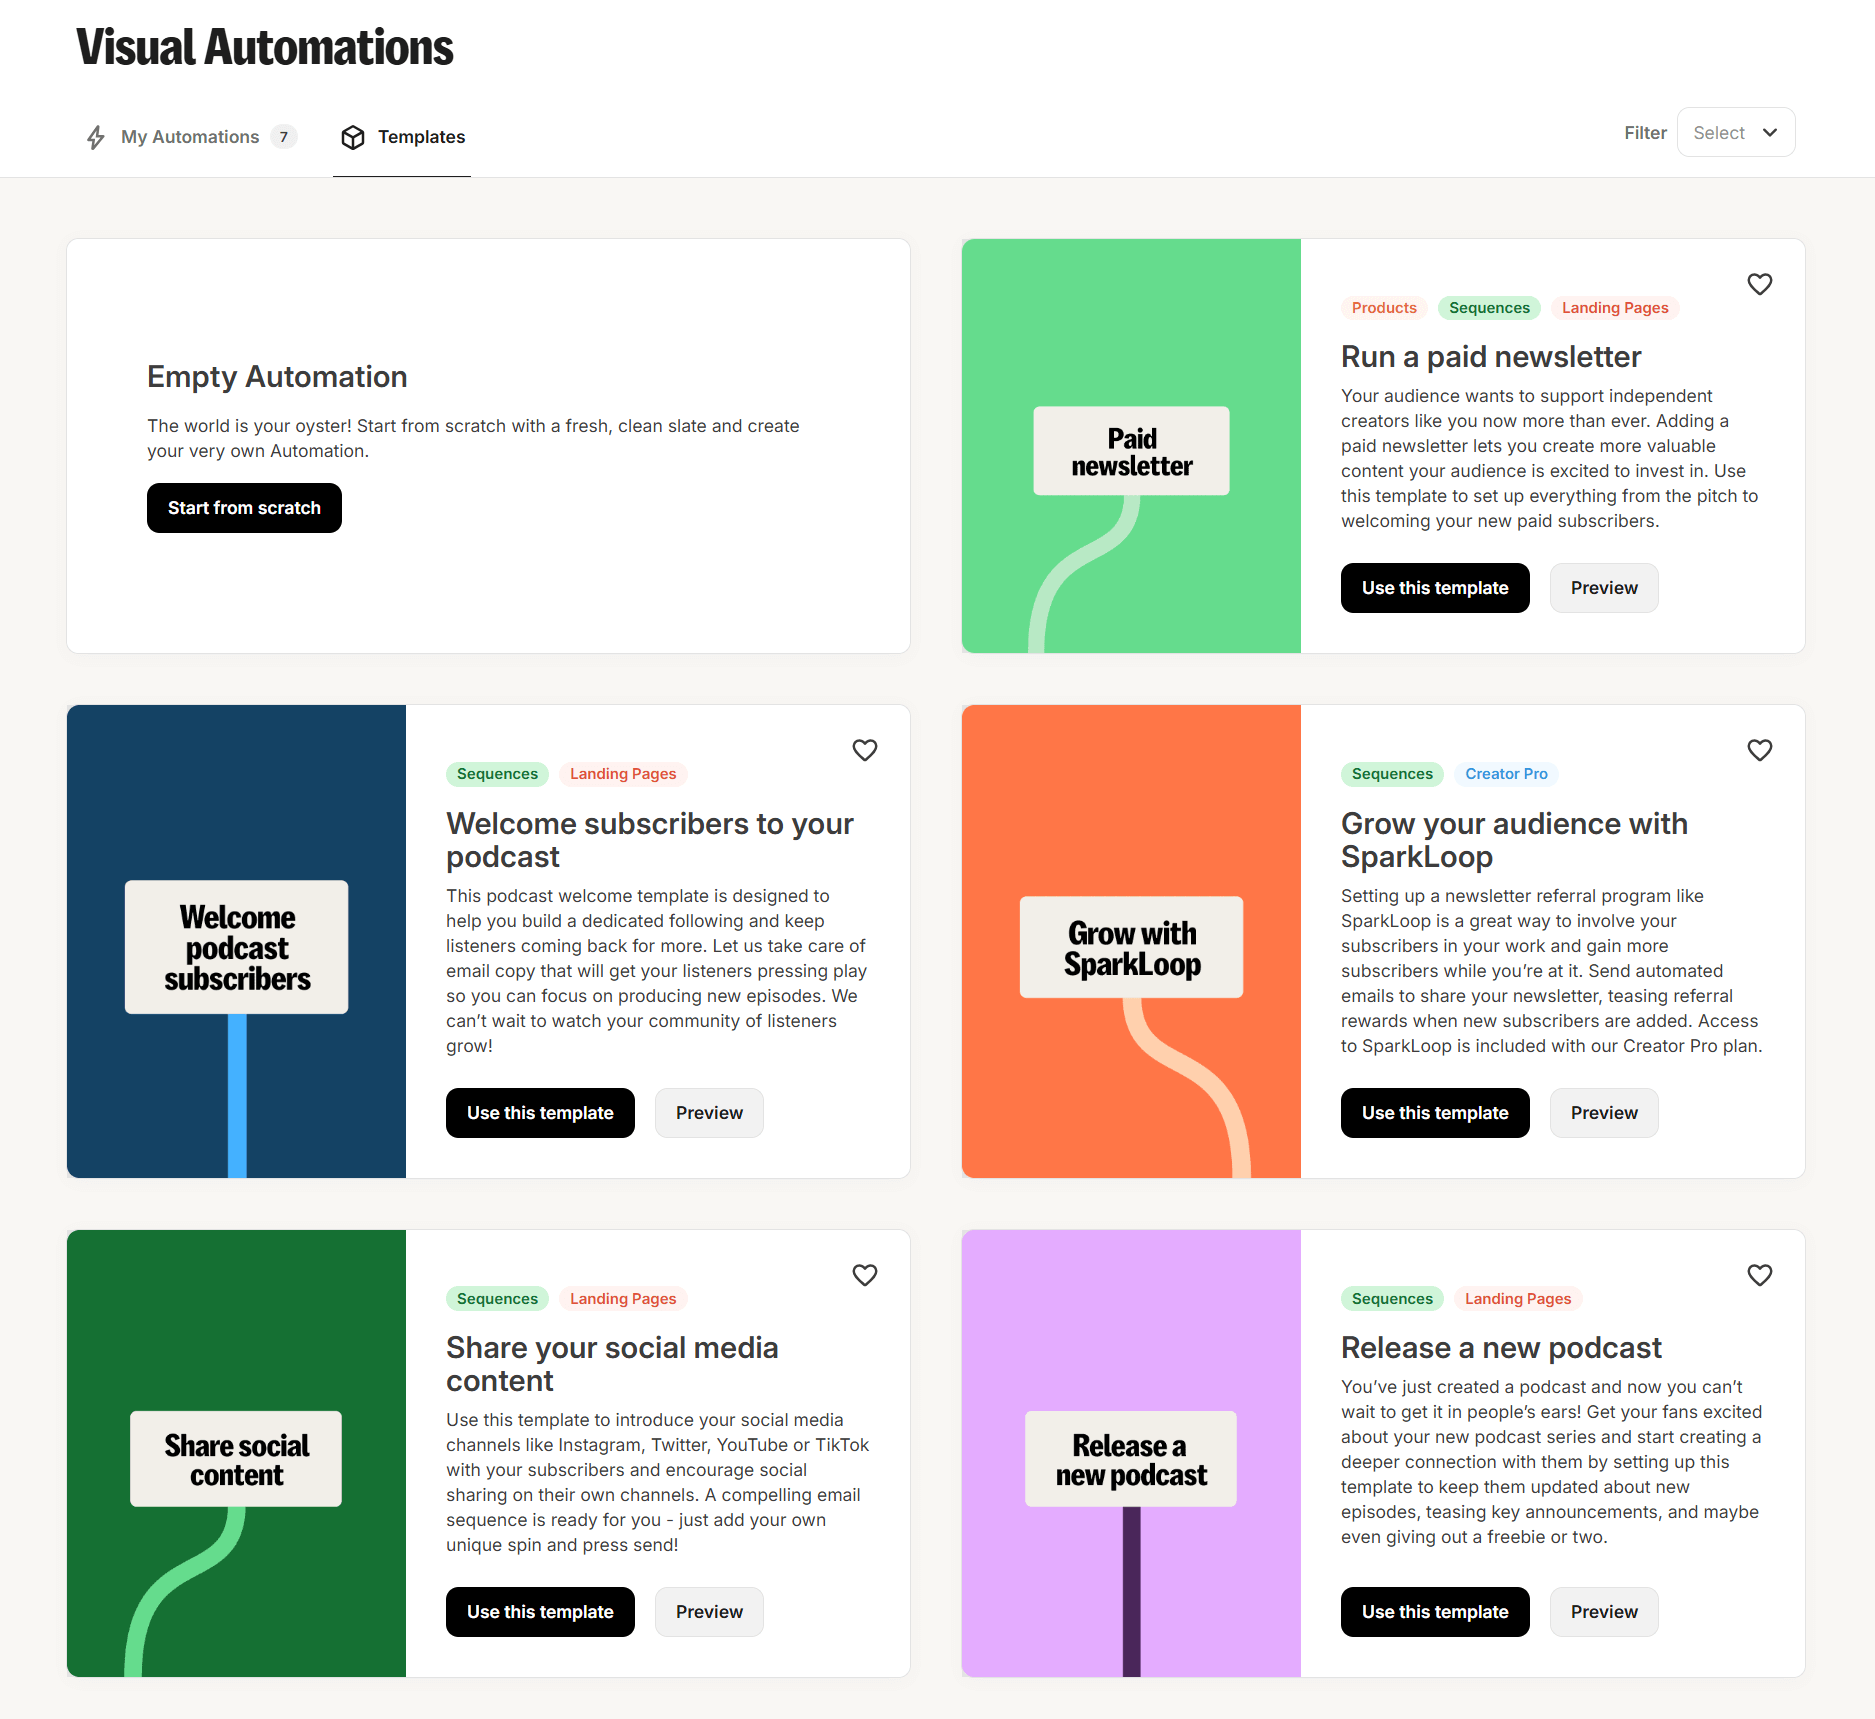
Choose a pre-built automation template or start from scratch in Kit
Add a Trigger
Your automation needs a starting point. Common triggers include:
When a subscriber joins a form: the most common setup. Great for lead magnets, newsletter signups, or waitlists. If you haven't set up a form yet, check out How to Deliver a Lead Magnet Using Kit for a full walkthrough.
When a tag is added: useful when tags are being applied from another automation, a Zapier integration, or another tool.
Choose the trigger that matches how your subscribers are entering your list.
Add Your Sequence and Any Other Steps
Once your trigger is in place, add an Email Sequence step and select the sequence you created. From there, you can add other actions as needed:
Delay: add a pause between steps
Add tag: tag subscribers for tracking or segmentation
Move subscriber: add or remove them from other automations
Add condition: create branching paths based on subscriber behaviour, tags, or email activity
When everything looks good, click the Active toggle at the top of the screen to turn the automation on.
How It All Fits Together
The most common setup looks like this: a subscriber fills out a form on your website, they receive a confirmation email (set up inside the form settings), and once they confirm, they're added to your automation and the email sequence begins. That's it, Kit takes it from there.
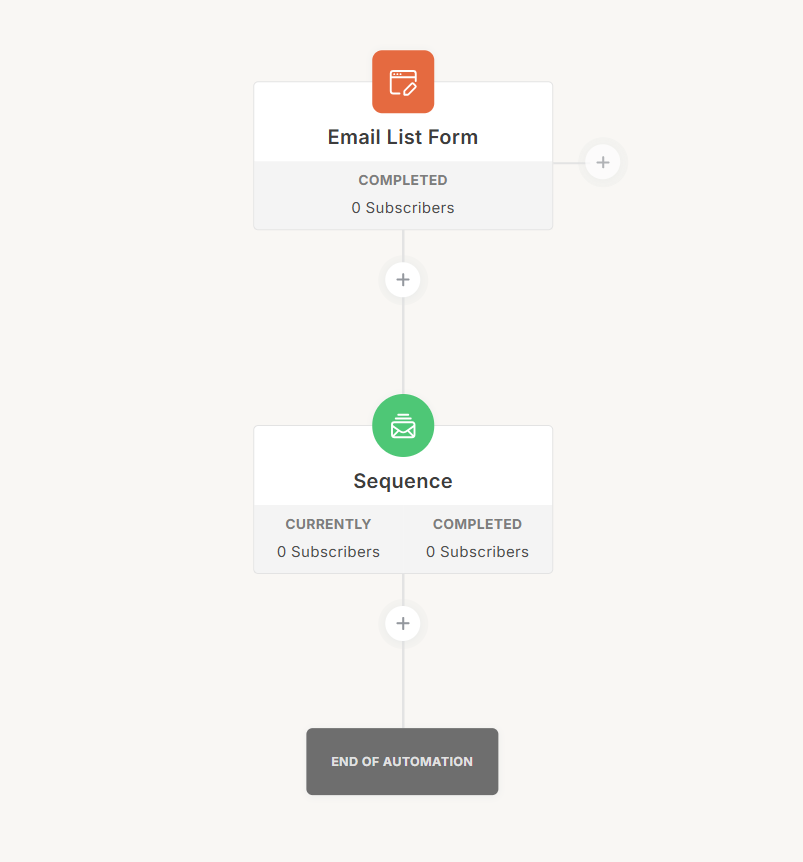
A simple automation setup -- form signup triggers the email sequence automatically
FAQ
How many emails should be in a welcome sequence?
There's no magic number, but three to five emails is a solid starting point for most service-based businesses. The first email should deliver whatever you promised (a freebie, a resource, or just a warm welcome), and the ones that follow can share more about who you are, what you do, and how you can help.
How far apart should the emails in my sequence be sent?
It depends on the type of sequence, but one to two days apart is common for a welcome or nurture sequence. You want to stay top of mind without overwhelming people. For a longer educational series, every two to three days can work well.
Can I add someone to a sequence manually?
Yes. You can manually add a subscriber to a sequence by going to their subscriber profile in Kit and adding them to the sequence directly. This is useful for testing or for adding existing subscribers who missed the automation.
What happens if someone is already subscribed when I turn on a new automation?
Automations in Kit are forward-looking by default, they apply to new subscribers who meet the trigger after the automation is turned on. Existing subscribers won't automatically enter the automation unless you manually add them or set up a specific trigger for existing tags.
Can I use the same email template for multiple sequences?
Yes. Once you've created a template, you can use it across as many sequences as you like. Any changes you make to the template will apply going forward, so it's worth getting it right before you build out multiple sequences.
Can I send a sequence to a specific segment of my list?
Yes. Using tags and conditions in your automation, you can control exactly who enters a sequence. For example, you could set up an automation that only adds subscribers with a specific tag to a particular sequence, keeping your messaging relevant to different audience segments.
Give It a Try
If you're not already on Kit, they offer a free 14-day trial of the Creator plan. Click here to get started and test out everything covered in this post.
And if you're a photographer or wedding planner thinking about how your email sequences connect to your broader client experience and onboarding process, that's exactly the kind of thing I love helping with.
Book a discovery call and let's talk about what a streamlined setup could look like for your business.
